CMUcam5 Pixy
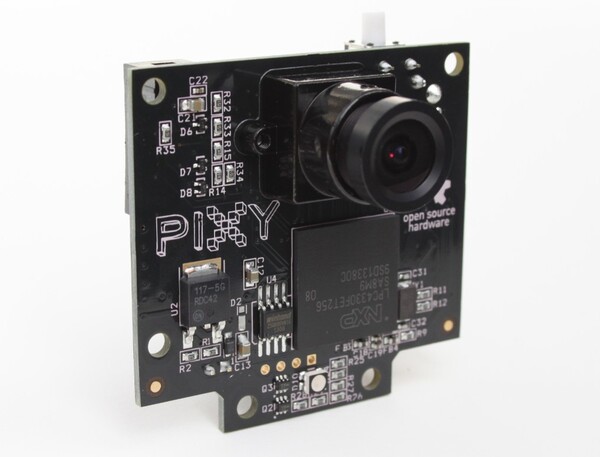
The Pixy is a computer vision camera that does all the hard work on-board. It can recognize coloured objects that it 'sees', and will then report their size and position back to a connected microcontroller.
The official documentation is here: [http://cmucam.org/projects/cmucam5/wiki/Quick_Start]
There's an Espruino module called Pixy (About Modules) which will interface to it.
Wiring Up
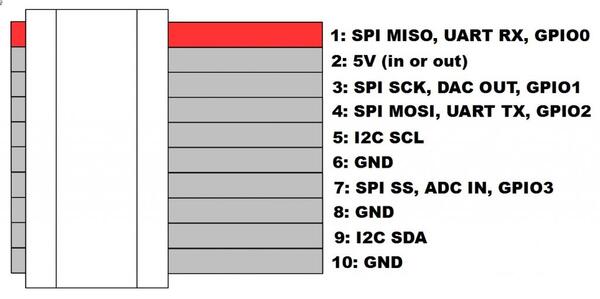
Use SPI (the default for Pixy), and connect as follows:
| CMUCam | Espruino | |
|---|---|---|
| 1 | SPI MISO | B14 |
| 2 | 5V | Bat |
| 3 | SPI SCK | B13 |
| 4 | SPI MOSI | B15 |
| 5 | I2C SCL | |
| 6 | GND | GND |
| 7 | SPI SS | |
| 8 | GND | |
| 9 | I2C SDA | |
| 10 | GND |
Note: Pins 7 to 10 are not exposed on the ribbon cable that comes with the pixy.
Software
SPI2.setup({sck : B13, miso : B14, mosi : B15, baud : 1000000});
var pixy = require("Pixy").connect(SPI2);
console.log(pixy.getBlocks());
returns something like:
[
  {"id":1,"x":18,"y":24,"width":17,"height":2}
]
Note: There may currently be issues with the minified version of this module. To use the unminified version, change .min.js|.js to .js|.min.js in the Web IDE's settings menu.
Reference
// For internal use - get a work and send out any queued up data
Pixy.prototype.getWord = function () { ... }

// For internal use - get a single byte
Pixy.prototype.getByte = function () { ... }

// For internal use - queue the given data to be sent
Pixy.prototype.send = function (data) { ... }

// For internal use - get the start of a frame
Pixy.prototype.getStart = function () { ... }

/* Get an array of tracked blocks in the form:

  { id: number, x: number, y: number, width: number, height: number }
*/
Pixy.prototype.getBlocks = function () { ... }

// Return a new Pixy object that's connected to the given SPI port
exports.connect = function (spi) { ... }
Using
(No tutorials are available yet)
Buying
This page is auto-generated from GitHub. If you see any mistakes or have suggestions, please let us know.