Servo Motors
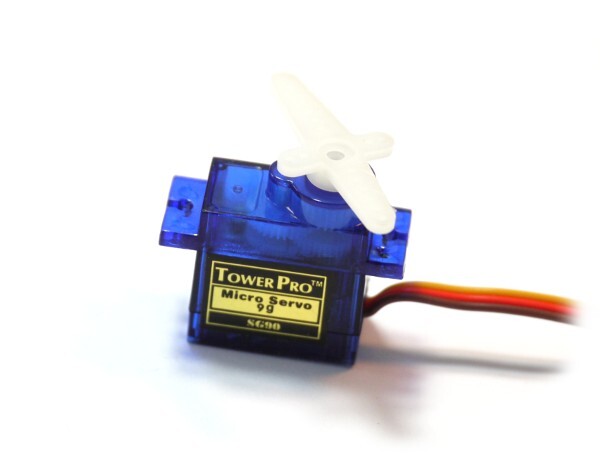
RC Servo Motors are great for controlling things from a microcontroller. They're cheap (around $3), and need only power, ground, and a series of pulses between 1ms and 2ms to work - the length of the pulse determines where they move to.
Wiring Up
Servo motors have 3 wires. Ground, Power, and Signal. For power, they will run off varying voltages. Generally they expect to run off of 4xAA cells, but you can run them off of slightly lower voltages - in which case they move slightly less quickly and produce less force. While you can run them off of USB 5v power, we'd recommend that you don't because of the electrical noise produced (and current drawn) by them.
Just take a power source (4xAA batteries, or a 3.7v LiPo battery) and connect negative to the black wires of the servos, and to the ground connection on your Espruino board. Connect Positive on the battery to the red wires on the servos. Now connect the each white wire on each servo to a different signal pin on your Espruino board.
For information on wiring up your Espruino Board for Servo Motors, see the Pin Strip page.
Servo Motor Module
If you just want to move servo motors around in the simplest possible way, use the servo (About Modules) module.
Just use require("servo").connect with the pin the servo motor is attached to, and call move with a position between 0 and 1, and an optional parameter specifying the time taken to move, and another parameter that is a function to call when the movement is finished:
var s = require("servo").connect(C7);

s.move(0); // move to position 0 over 1 second
s.move(1); // move to position 1 over 1 second
s.move(0.5, 3000); // move to position 0.5 over 3 seconds
s.move(0.5, 3000, {soft:false}); // move to position 0.5 over 3 seconds and hold the position

// move to position 0 over 1 second, then move to position 1
s.move(0, 1000, function() {
  s.move(1, 1000);
});
Note: By default the servo module limits the range of pulses to between 1ms and 2ms
to avoid damage to your servo motor. This is what Wikipedia implies
is the correct range. However some servo motors will accept a wider range of input
pulses which will move the motor further. You can configure the servo module to
output a range of 2ms using require("servo").connect(C7,{range:2});
(which will output between 0.5ms and 2.5ms).
The module will handle everything else, making sure that the Servo motor is not being continually pulsed when it has had time to reach the correct position.
There are other ways of controlling servos...
Simple Control
You can easily send a pulse using Espruino:
digitalPulse(A1,1,1.5);
This means 'pulse pin A1 high(1) for 1.5ms'
Sending this command repeatedly will gradually move the servo to its middle location.
You can call it automatically 20 times a second with setInterval:
var servoPos = 0.5;
var interval = setInterval("digitalPulse(A1,1,1+E.clip(servoPos,0,1))", 50);
Note that we've added the 'clip' function which stops a pulse of the wrong length being sent to the servo if servoPos is out of range.
Now, if you change servoPos, the servo will automatically change position:
servoPos = 0;
servoPos = 1;
You can also stop sending the servo commands with:
clearInterval(interval)
Moving Automatically
Maybe you want to move two servos in a steady circle? No problem:
var servoPos = [0,0];
function getPositions() {
 var t = getTime();
 servoPos = [ 0.5+Math.sin(t)*0.5, 0.5+Math.cos(t)*0.5 ];
}
function moveServos() {
 digitalPulse(A1,1,1+E.clip(servoPos[0],0,1));
 digitalPulse(A2,1,1+E.clip(servoPos[1],0,1));
}
setInterval("getPositions();moveServos()", 50);
Better Method
You can also use a hardware timer to produce the pulse - this means that you don't have to worry about sending the pulses - you just tell Espruino to start sending them, and it will continue without you having to write any code:
function setServo(pin,pos) {
 if (pos<0) pos=0;
 if (pos>1) pos=1;
 analogWrite(pin, (1+pos) / 50.0, {freq:20, soft: false});
}

setServo(A1, 0.5); // set servo connected to A1 to the halfway position and hold that position
Note that some pins don't have hardware timers on them. You can find which ones do by typing: 'analogWrite()'
Using
 BLE Communications
 Water Physics with Servo Motors
 MeArm Robotic Arm
 The Useless Box - a box that turns itself off
Buying
This page is auto-generated from GitHub. If you see any mistakes or have suggestions, please let us know.